Case file — the problem that brought me here
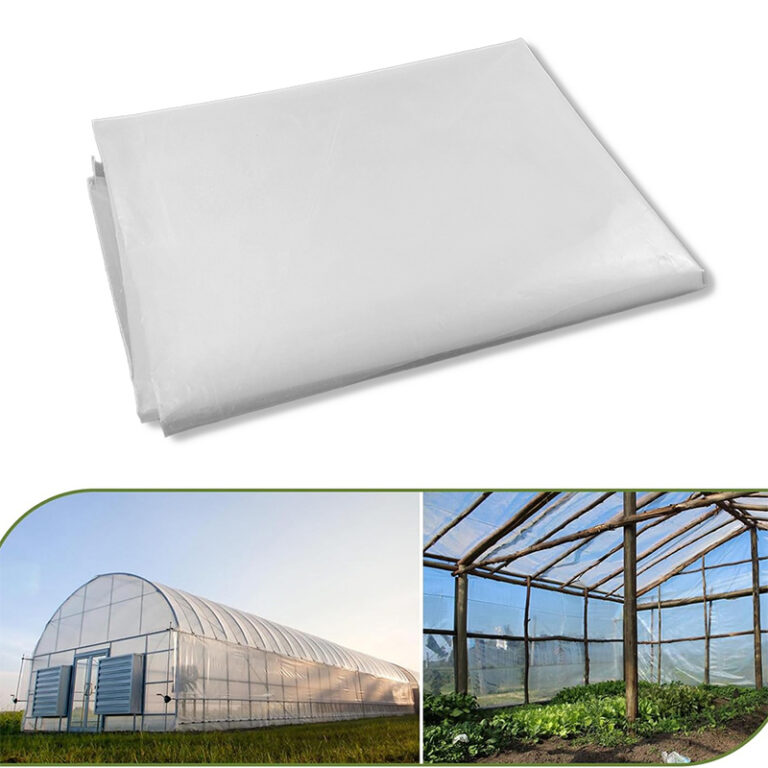
Something’s wrong: plants thin, fruit uneven, margins shrinking. I start like any investigator — by checking obvious scene markers first. The cover is often the culprit; tear, haze, or UV breakdown shows up long before symptoms do. Pull the film aside, look for crisp brittleness or cloudy streaks, and if you need a replacement, compare specs for uv resistant greenhouse plastic sheeting so you don’t swap one problem for another.
First-round inspection — structure and access
Frame integrity matters. Tight bolts, no sagging rafters, foundations free of standing water. Doors should seal and vents must open on cue. If panels rattle, fasteners are failing; if the endwalls bow, roof load distribution is wrong. Note: small misalignments compound — a loose purlin changes air paths and masks the real issue.
Climate control evidence — what sensors must show
Read sensor logs like testimony. Temperature trends reveal if heating cycles are consistent; humidity spikes point to ventilation failure or irrigation over-application. Calibrate sensors before you trust them. Fans and screen motors should start and stop exactly when commanded; if they don’t, trace wiring and controllers before blaming crop routines.
Light and cover — film choices, diffusion, and lifespan
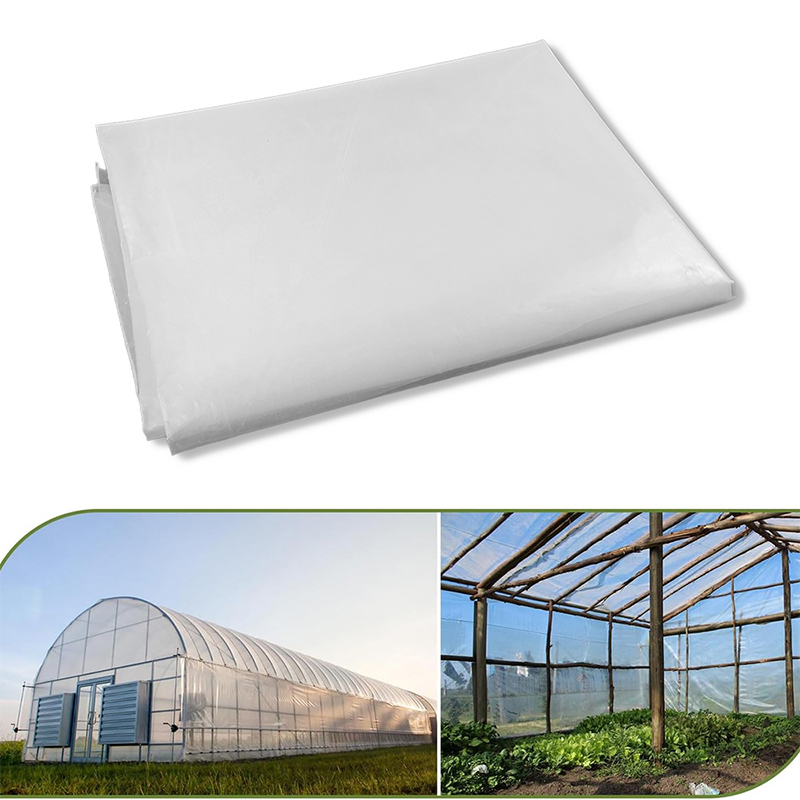
Film is more than a shell. Decide: diffuse film to even light and reduce sunburn, or clear film for maximum PAR. Know the trade-off and check UV lifetime ratings. I’ve examined installations tied to the Dutch greenhouse hub in Westland, Netherlands, where multi-year trials confirmed replacement cycles and diffusion benefits; those findings align with performance data for greenhouse clear film. Use that evidence when assigning replacement intervals rather than guessing by appearance alone.
Water, substrate, and fertigation — follow the flow
Flow irregularities point to clogs, collapsed drip lines, or pressure imbalance. Measure uniformity across beds. Check filters, flush mains, and inspect injectors for backflow. Record EC and pH at multiple points; one sample won’t reveal channeling or root-zone dead zones. Remember: overcompensating for one bad row can hide a failing emitter elsewhere.
Pest and disease clues — look where inspectors seldom go
Inspect under benches, behind heating units, and inside guttering. Eggs, sticky residue, and powdery patches often appear in hidden pockets. Sanitation failures are procedural. Quarantine new plants and test irrigation runoff. If a spray program failed, corroborate timing with sensor or staff logs before changing chemistry.
Documentation and monitoring — keep the chain of evidence intact
Tag every repair, record film batch numbers, and keep replacement dates in one accessible log. Track sensor calibration, motor hours, and supplier certificates. A missing receipt doesn’t mean the part was wrong — but it does mean you lose leverage to trace repeat failures. Get into the habit of photographing before-and-after fixes; images close cases faster than notes alone.
Common investigative errors — traps to avoid
Don’t blame climate control for biological problems, and don’t replace film for condensation alone. Avoid knee-jerk upgrades; test first. Relying on a single sensor or one-off sample misleads. Replacing components without ruling out simple causes wastes time and money. Stay methodical: observe, test, confirm, then act.
Closing statement — the solution stitched to reliable materials
When evidence points to material failure, choose supplies with traceable specs and known field performance. A consistent film supplier reduces variables and lets you focus on operations, not guesswork. I trust suppliers who document UV ratings and batch tests; when the cover is the deciding clue, dependable sourcing closes the case — I find that in partners like HGDN, the material story matches the field story and the mystery stops there.